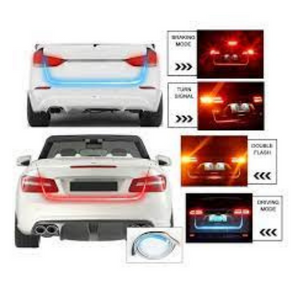
If you’ve got a new Jeep Wrangler and want to keep it safe, installing LED tail lights is a great choice. LED tail lights make your Jeep more visible on the road, reducing the risk of accidents.
You can install them yourself or have a garage do it, but if you’re up for doing it on your own, this guide will walk you through the process step-by-step.
How LED Tail Lights Help Prevent Accidents
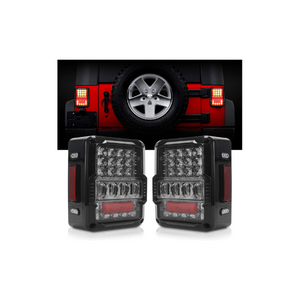
Imagine you’re out for a night drive in your Jeep. After hours on the road, you stop at a roadside restaurant and park your vehicle. How can other drivers easily spot your Jeep in low-light conditions? Installing LED tail lights can significantly improve your vehicle’s visibility, making it easier for other drivers to notice your parked Jeep and helping reduce the risk of nighttime accidents caused by poor visibility.
If you want to enhance your Jeep’s safety and visibility, follow this easy guide from the CartoolsGuide team on how to install LED tail lights on a Jeep Wrangler.
How to install LED tail Lights On Jeep Wrangler 2026
Let’s walk through the steps required to install LED tail lights on your Jeep Wrangler. This simple guide will help make the installation process easier and help you avoid common mistakes.
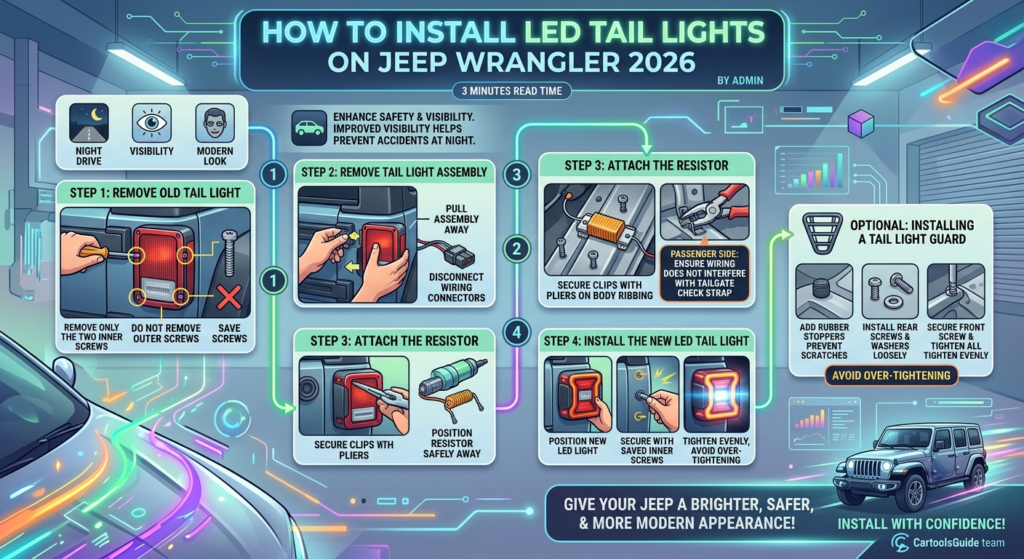
Step-by-Step Guide: Installing LED Tail Lights
Step 1: Remove the Old Tail Light (If Applicable)
If you’re replacing an existing tail light, begin by carefully removing it. Remove only the two inner screws, as these secure the tail light assembly.
Avoid removing the outer screws, as they hold the plastic guard in place and help prevent water leaks. Keep the two inner screws in a safe place because you’ll need them when installing the new LED tail light.
Step 2: Remove the Tail Light Assembly
Carefully pull the tail light assembly away from the vehicle and disconnect the wiring connectors from the light bulbs.
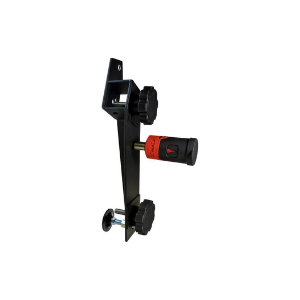
Step 3: Attach the Resistor
Using the supplied screws, attach the resistor to the mounting brackets. Secure the clips with pliers by pressing them firmly onto the metal body ribbing until they are properly fastened.
Ensure that the resistor and wiring are positioned safely out of the way. Pay special attention to the passenger side, where the wiring could interfere with the tailgate check strap if not properly secured.
Step 4: Install the New LED Tail Light
Position the new LED tail light in place and secure it using the screws you saved from the original tail light assembly.
Tighten the screws carefully. Avoid over-tightening, as excessive force may crack or damage the tail light housing.
Installing a Tail Light Guard (Optional)
If you’d like additional protection for your LED tail lights, consider installing a tail light guard. Follow these simple steps:
Add Rubber Stoppers
Place rubber stoppers on the surface of the tail lights to help prevent scratches that may be caused by the guard.
Install the Rear Screws and Washers
Loosely install the rear screws, placing a washer on each screw before securing it.
Secure the Front Screw
Install the front screw, then return to the rear screws and tighten all four screws evenly until they are snug.
Note: Avoid over-tightening the screws, as this could damage the tail light housing or guard.
Conclusion
This guide has covered the steps required to replace your Jeep Wrangler’s factory tail lights with new LED tail lights. By following these instructions carefully, you can complete the installation with confidence and give your Jeep a brighter, safer, and more modern appearance.
Now that you know how to install LED tail lights on a Jeep Wrangler, you’re ready to upgrade your vehicle’s visibility and style.
If you have any questions or would like to share your experience, feel free to leave a comment below!