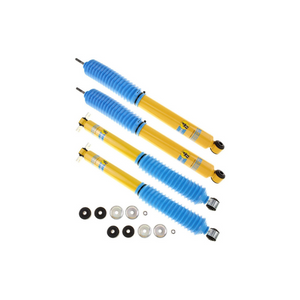
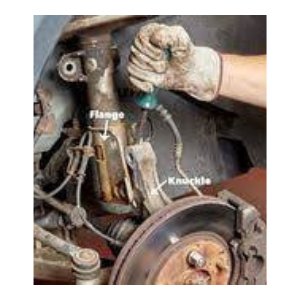
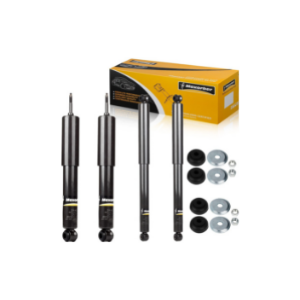
If you’re searching for how to replace shock absorber, chances are your vehicle is showing signs of worn-out shocks. Maybe your car feels unstable on rough roads, the tires bounce excessively, or you’ve noticed oil leaking from the shocks. These are all common warning signs that it’s time for a replacement.
Replacing a shock absorber yourself is a smart way to save money and gain hands-on experience with your vehicle. With the right tools and a little patience, you can complete the job confidently at home.
In this guide, you’ll learn how to replace a shock absorber in 10 easy steps.
How to Replace Shock Absorber 2026
Table of Contents
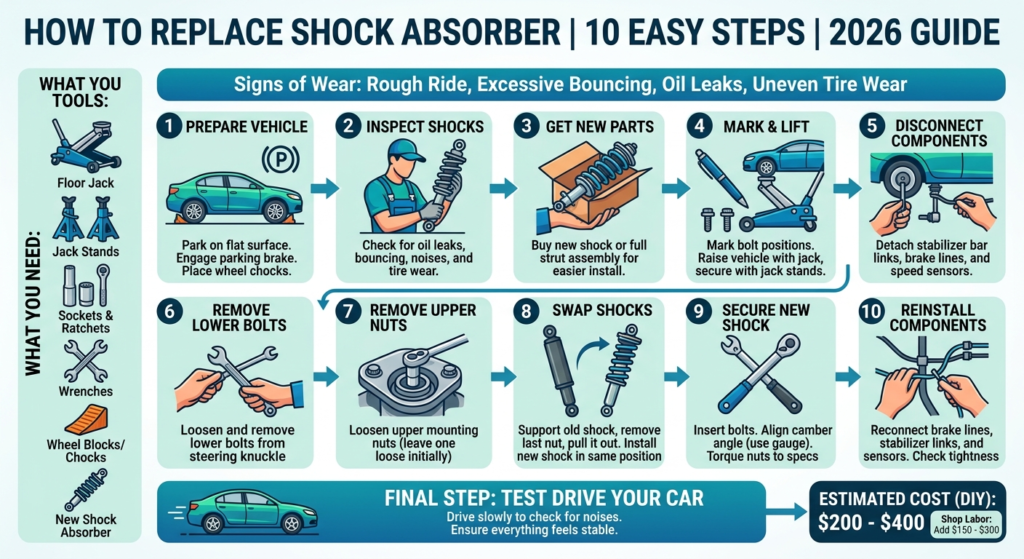
Now we are going to discuss about how to change shock absorber in 10 easiest steps which will surely boost your confidence level to do the whole task by yourselves. So scroll down and read our below given 10 steps.
Things that you need to have with you for replacing shock absorber are

Jack stands

Floor Jack

Sockets & Ratchets

Wheel blocks

Wheel chocks

Few wrenches

And the last one is new shock absorber
How to Replace Shock Absorber in 10 Easy Steps
Step 1: Prepare Your Vehicle
Safety comes first. Park your car on a flat surface and engage the parking brake. Place wheel chocks in front of and behind the wheels to prevent the vehicle from moving while you work.
Step 2: Inspect the Shock Absorber
Check the shock absorber carefully for:
- Oil leaks
- Excessive tire bouncing
- Poor steering control
- Uneven tire wear
- Strange noises over bumps
These signs usually indicate that the shocks need replacement.
Step 3: Purchase a New Strut Assembly
Visit an auto parts store and buy a replacement shock absorber or a complete strut assembly. A full strut assembly may cost more, but it makes installation easier and saves time.
Step 4: Mark the Bolt Positions
Work on one side of the vehicle at a time.
- Mark the position of all nuts and bolts before removing them.
- Raise the vehicle using a floor jack and secure it with jack stands.
- Spray lubricant on rusty bolts if needed.
- Attach an angle gauge to the rotor to record the camber angle for accurate reinstallation.
This step helps maintain proper wheel alignment after installation.
Step 5: Disconnect Attached Components
Remove all parts connected to the shock absorber, including:
- Stabilizer bar end link
- Brake line brackets
- Wheel speed sensor
Use a wrench to hold the stabilizer link while loosening the nut with a socket and ratchet.
Step 6: Remove the Shock Mounting Bolts
Loosen and remove the lower mounting nuts and bolts from the shock absorber. You may need to move the steering knuckle slightly to free the bolts.
Step 7: Remove the Upper Shock Nuts
Use a socket ratchet to loosen the upper mounting nuts. Leave one nut partially attached until you are ready to remove the shock absorber completely.
Step 8: Remove the Old Shock Absorber
Support the shock absorber with one hand while removing the final nut. Carefully pull the old shock out of the vehicle.
Now install the new shock absorber in the same position as the old one. Make sure the mounting angle matches the original setup.
Step 9: Install and Secure the New Shock Absorber
Installing the new shock absorber may require some extra effort, so having a helper can make the process easier.
- Position the new shock absorber correctly.
- Insert the mounting bolts.
- Use a pin punch if necessary to align the bolt holes.
- Reinstall the nuts but do not fully tighten them yet.
- Adjust the camber angle using the angle gauge.
- Torque all nuts and bolts to the manufacturer’s specifications.
Step 10: Reinstall All Removed Components
Reconnect all components removed earlier, including:
- Brake line brackets
- Stabilizer bar link
- Wheel speed sensor
Double-check that every nut and bolt is tightened securely.
Final Step: Test Drive Your Car
After replacing the shock absorber, take your car for a test drive. Drive slowly and carefully to check if everything feels right. Listen for any unusual noises that might indicate a mistake. If everything runs smoothly, then congratulations! You’ve successfully replaced your shock absorber on your own.
Have a test drive after changing the shocks
Now after replacing the shock absorber you must take a test drive. While having the test drive you must remember one thing that is you should not drive your car at high speed because you are taking the drive to check whether you have changes the shocks perfectly or not. If you hear any noise then immediately stop your car and check where you have done the mistake. But if you feel that everything is running smoothly then you must feel confident that you have done the task of changing shock absorber perfectly in your first attempt.
Read more about – How to install front shocks on a chevy truck
How much does a shock replacement cost?
Wondering about the cost of replacing shocks? The price isn’t fixed because it depends on the type of shock absorber you choose. If you opt for high-quality shocks, expect to pay more. On the other hand, budget-friendly or cost-effective options will be cheaper. Generally, the cost of replacing shocks yourself ranges from $200 to $400. However, if you decide to have the job done at a garage, you might pay an additional $150 to $300 for labor.
Conclusion
Wondering about the cost of replacing shocks? The price isn’t fixed because it depends on the type of shock absorber you choose. If you opt for high-quality shocks, expect to pay more. On the other hand, budget-friendly or cost-effective options will be cheaper. Generally, the cost of replacing shocks yourself ranges from $200 to $400. However, if you decide to have the job done at a garage, you might pay an additional $150 to $300 for labor.