Do you find yourself cringing at the sound of a rattling, cracked dashboard every time you hit a bumpy road or gravel path? If the answer is yes, you’re not alone. The frustration of dashboard cracks is something many car owners experience, especially when replacing the dashboard isn’t budget-friendly. Fortunately, there’s an alternative that saves both time and money: restoring your dashboard at home with the right adhesive.
If you’re reading this, you might be searching for a reliable, DIY method to fix a cracked dashboard. You’re in the right place! In this guide, Cartoolsguide will walk you through each step of the process, making it easy to restore your dashboard and enjoy a smoother, quieter ride.
How to Fix Cracked Dashboard
Table of Contents
If you’re looking to restore your dashboard and get rid of those frustrating cracks yourself, you’ve come to the right place. Cracked dashboards can be an eyesore and can even lead to further wear if left unaddressed. Whether your car is a cherished classic or a newer model, this simple DIY fix can help you avoid the high cost of a full dashboard replacement.
In this guide, we’ll take you through each step to repair and restore your dashboard to its former glory. Grab your materials, get comfortable, and let’s dive into the step-by-step process for giving your dashboard a fresh start!
Things that you need to have for fixing the cracked dashboard
80 or 180 grit of sandpaper
Moldable Glue
Towel
Alcohol
Little bit of paint
Lacquer Thinner
To start repairing the cracks in your car dashboard, the first essential item you’ll need is a high-quality glue. This glue comes in various colors, including black and grey, to blend seamlessly with your dashboard. Choosing the right color is key for a clean, professional-looking repair. For instance, if your dashboard is black, be sure to use black glue; if it’s grey, pick grey glue to match.
In the example shown, the dashboard is black, so we’re using black adhesive to achieve a near-invisible fix. A quick but critical tip: avoid opening the glue packet until you’re ready to begin the repair, as it remains effective for only about 30 minutes once exposed to air. This will ensure the glue maintains maximum adhesion for a strong, lasting result.
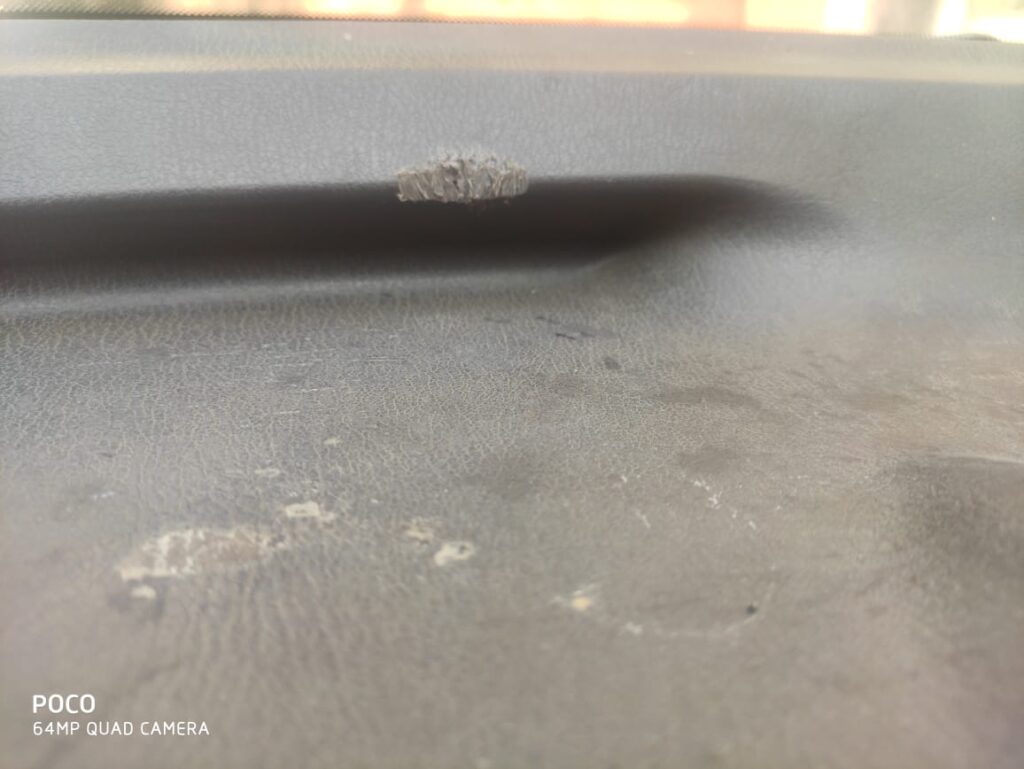
- Start by selecting an 80- or 180-grit sandpaper to prep the cracked area of your dashboard. Sanding the damaged portion will roughen up the surface, giving the glue a stronger base to bond with. Once you’ve thoroughly sanded the crack, carefully clean the area to remove all dust and debris, as even tiny particles can affect the adhesion.
- After preparing the surface, grab your glue and knead it until it becomes moldable. Apply the glue directly to the crack, pressing it firmly with your fingers to ensure it adheres well. Then, use your finger to spread the glue evenly along the crack, filling it completely. For a smooth finish, press the glue gently into the crack, making sure it bonds tightly.
- Next, use a towel to wipe over the area where you’ve applied the glue, removing any excess while allowing the adhesive to set into the crack. Repeat this process until you’ve covered the entire damaged area. If you come across any small holes, simply add a bit more glue, press it in place, and wipe away any extra adhesive with a towel.
- After letting the glue set for 24 hours, you may still see faint cracks, which is common. For a more seamless finish, dampen a cloth with a little rubbing alcohol and gently wipe the repaired area. This will clean any remaining residue and prepare the surface for blending.
- Now, apply a small amount of paint to a separate towel rather than directly on the dashboard. Add a touch of lacquer thinner to the painted area of the towel to create a smooth blend. Dab this mixture gently over the repaired section of the dashboard, blending it to match the rest of the surface for a uniform, factory-finish look.
- After completing this final touch-up, you’ll have a dashboard that looks refreshed and feels like new—giving you the satisfaction of knowing you handled the repair yourself!
Conclusion
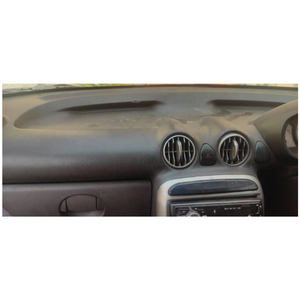
So, without relying on any expert advice, you’ve taken matters into your own hands and successfully repaired your cracked dashboard—thanks to a little help from search engines like Google or Bing! By simply typing in “How to repair cracked dashboard,” you found exactly what you needed. Among the results, CartoolsGuide provided you with the clear, step-by-step instructions that made it all possible.
If this guide has helped you bring your dashboard back to life, don’t keep it to yourself! Share this article with friends and fellow car enthusiasts who may be facing the same issue. A quick DIY fix could be just what they need!
What causes a crack in the dashboard?
The main reason for cracked dashboard is the ultra violet rays. Ultra violet rays of the sun is harmful to plastic, chemical and PVC components.
How much does it cost to repair dashboard?
If you repair the dashboard by yourselves then you can complete the task of repairing dashboard within $100. For repairing cracked dashboard you have to buy glue which costs $10-$25 and other accessory is $25-$50 which means the whole cost will be under $100.
Do car dashboards still crack?
It may not happen with new car but older car dashboard still cracks. It is really annoying to sit inside the car that’s dashboard has been cracked.
Can you fix a cracked plastic dash?
Yes plastic dash can be fixed. To repair the cracks in your plastic car dash, you could either bond them together or patch them up by applying glue on the cracked portion of the dashboard.

